跳到内容
跳到内容 

Ordering custom plastic parts can be complex and risky. A small oversight can lead to major production issues, delaying your project and increasing costs, leaving you feeling frustrated.
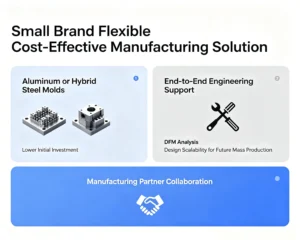
Before placing an order, you must evaluate five key areas. These include your product's design feasibility, the choice of plastic material and mold steel, your supplier's engineering capabilities, and a clear understanding of all potential costs and delivery timelines. Getting these right is essential for success.

Getting into custom manufacturing feels like a big step. I remember my early days in this industry, over 15 years ago. I saw so many promising projects stumble because of simple, avoidable mistakes made right at the start. It’s not just about finding a factory; it’s about finding a partner who helps you navigate the technical details. You need to be prepared before you even request a quote. Let’s walk through the essential things you need to check off your list. This guide will help you ask the right questions and ensure your project runs smoothly from concept to completion.
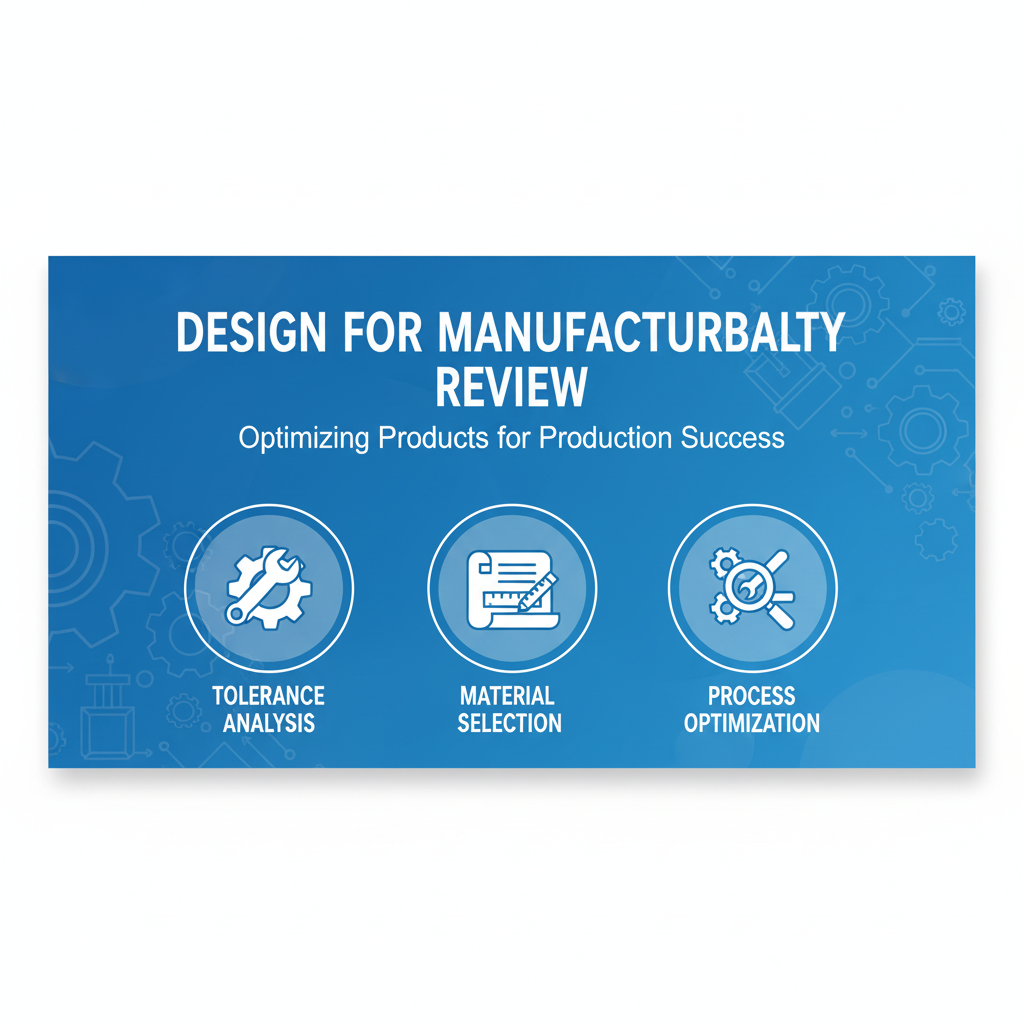
Is Your Product Design Ready for Manufacturing?
Your design looks perfect on screen, but will it work in a real mold? A design that isn't optimized for manufacturing can cause defects, breakages, and expensive mold revisions.
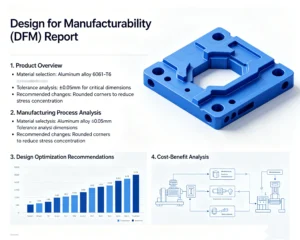
Yes, your design is ready if it includes proper draft angles, uniform wall thickness, and rounded corners. These elements are not just suggestions; they are critical for ensuring parts eject smoothly, cool evenly, and resist stress. A Design for Manufacturability (DFM) review is the best way to confirm this.
A few years ago, we worked with a STEM toy developer. Their initial design for a gear component was perfectly functional in their 3D software, but it had 90-degree angles and no draft. If we had made the mold like that, the parts would have been impossible to eject without damage. We had to explain that even a tiny 1-degree draft angle makes a huge difference. By working with them to adjust the design, we saved them from a costly mold modification and production delays. This is why a deep dive into your design is the first and most critical step. It’s about translating a great idea into a mass-producible reality.
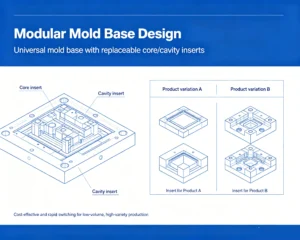
Key Design Considerations
Three design features are absolutely essential for successful injection molding.
- Draft Angles: This is a slight taper added to the vertical walls of your part. Without it, the part will scrape against the mold as it's ejected, causing scratches or getting stuck.
- Uniform Wall Thickness: If some walls are much thicker than others, the thick sections will cool slower. This causes the part to warp, shrink unevenly, or develop internal voids.
- Corner Radii: Sharp internal corners create stress points where a part is most likely to crack under pressure. Adding a rounded corner, or fillet, distributes that stress and makes the part much stronger.
| Design Feature | Poor Practice (Causes Problems) | Best Practice (Ensures Quality) |
|---|---|---|
| Draft Angles | 0-degree walls (vertical sides) | 1-3 degrees of taper on all walls parallel to mold opening |
| Wall Thickness | Drastic changes from thick to thin | Consistent thickness throughout the part |
| Corner Radii | Sharp, 90-degree internal corners | Rounded corners (radii should be at least 0.5x wall thickness) |
How Do You Choose the Right Plastic for Your Project?
You have a great design, but have you chosen the right material? Using the wrong plastic can lead to parts that fail under stress, deform in heat, or don't fit together properly.
You choose the right plastic by matching its properties to your product's end-use. Consider factors like strength, flexibility, temperature resistance, and cost. Also, every material has a different shrinkage rate, which must be factored into the mold design to ensure final part accuracy.

I once had a client in the automotive sector who wanted to produce an interior trim piece. They initially specified a standard plastic to save costs. However, they didn't account for the high temperatures a car interior can reach on a sunny day. We pointed out that their chosen material would warp. By switching to a more heat-resistant polymer like PC/ABS, we prevented a massive recall. The small increase in material cost saved them a fortune in the long run. The material isn't just a detail; it defines your product's performance and reliability.
Material Properties and Shrinkage
The plastic you choose directly impacts how your product performs and how it's molded. Two factors are most important here:
- Material Properties: You need to think about how the product will be used. Will it be exposed to chemicals? Does it need to be strong and rigid, or soft and flexible? Is it for a medical device that needs to be biocompatible?
- Shrinkage Rate: All plastics shrink as they cool. However, different plastics shrink at different rates. For example, Nylon can shrink much more than ABS. Your manufacturer must account for this specific shrinkage rate when designing the mold. If they don't, a part designed to be 100mm long might come out as 98mm, which is a big problem for parts that need to assemble together.
Here’s a quick look at some common plastics:
| Material | Key Properties | Common Applications | Shrinkage Rate |
|---|---|---|---|
| ABS | Good impact strength, rigidity, and surface finish. | Electronic housings, toys (LEGOs) | Low (0.5-0.7%) |
| PC | High impact strength, transparency, heat resistance. | Eyewear lenses, electronic screens | Low (0.6-0.8%) |
| PP | Flexible, chemical resistant, inexpensive. | Food containers, living hinges | High (1.0-2.5%) |
| Nylon | Strong, durable, good wear and chemical resistance. | Gears, bearings, automotive parts | High (0.8-2.5%) |
Does Your Mold's Steel and Cavity Count Affect Your Bottom Line?
You've got the design and material, but what about the mold itself? Choosing the wrong mold steel or number of cavities seems like a technical detail, but it directly impacts your budget and timeline.
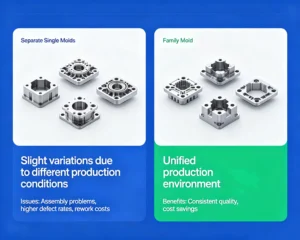
Absolutely. The mold steel determines the mold's lifespan and how many parts it can produce before wearing out. The number of cavities determines how many parts you get per cycle. A high-cavity mold costs more upfront but lowers the per-part cost for large production runs.
We frequently talk to clients who want the lowest possible price for a mold. One client, a cosmetics packaging manufacturer, needed to produce millions of bottle caps. They were tempted by a quote for a mold made from a softer steel like P20. I explained that while the P20 mold was cheaper, it would likely wear out after 300,000 shots. For their volume, they would need to build three or four molds over time. We recommended a hardened H13 steel mold instead. It was more expensive initially, but it was guaranteed for over 1 million shots. This saved them from future tooling costs and production downtime, directly improving their long-term profitability.
Mold Steel and Cavity Strategy
Making the right choice here is a balancing act between your upfront investment and your long-term production goals.
- Mold Steel Selection: The type of steel used to build your mold dictates its durability. Softer, pre-hardened steels are cheaper and faster to machine but wear out quicker. Hardened tool steels cost more and take longer to machine, but they can produce millions of parts without degradation.
- Number of Cavities: A single-cavity mold produces one part per cycle. A multi-cavity mold (e.g., 8, 16, or 32 cavities) produces multiple parts simultaneously. While a multi-cavity mold has a higher initial cost, it drastically reduces the molding time and cost per part, which is ideal for high-volume orders.
| Factor | Low-Volume Production (e.g., 10,000 parts) | High-Volume Production (e.g., 1,000,000+ parts) | Impact on Cost |
|---|---|---|---|
| Mold Steel | P20 (pre-hardened) | H13, S136 (hardened) | Hardened steel increases upfront mold cost but lowers lifetime cost. |
| Number of Cavities | 1 or 2 cavities | 8, 16, or more cavities | More cavities increase mold cost but decrease the per-part price. |
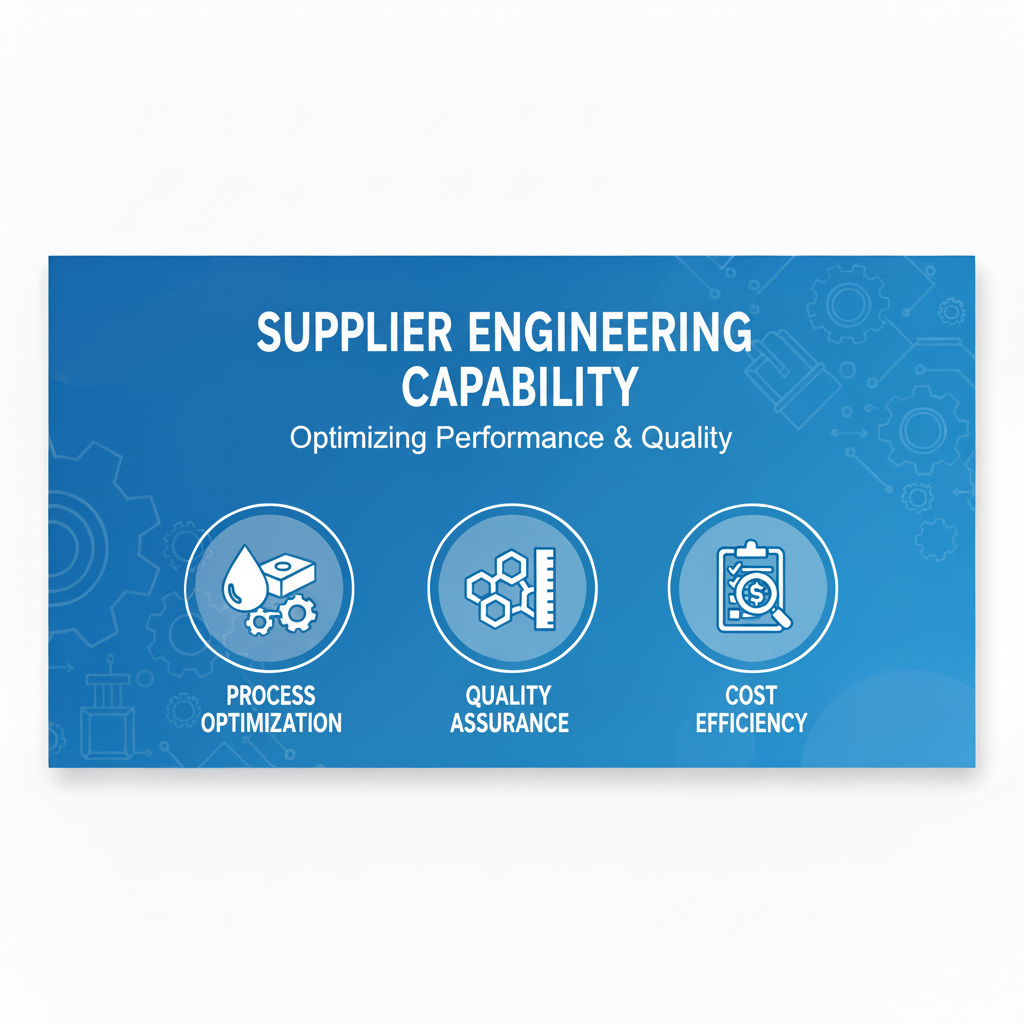
Why Is Your Supplier's Engineering Capability a Game-Changer?
You can prepare everything perfectly, but your project's fate is in your supplier's hands. A low-cost quote is tempting, but what happens when problems arise? A weak supplier can turn a simple project into a disaster.
Because a supplier with strong engineering skills doesn't just make parts; they solve problems. They provide a detailed Design for Manufacturability (DFM) report, anticipate issues before they happen, and have the experience to fix unexpected challenges quickly, saving you time, money, and stress.
I remember a project with a client developing a new electronic device. Their design had a complex internal structure. Another factory had told them it was "impossible" to mold as a single piece. When they came to us, our engineering team didn't just say no. We spent a week analyzing the part, running mold flow simulations, and proposed a design for a sophisticated mold with internal lifters and slides. We provided a full DFM report showing them exactly how it would work. The client was amazed. This proactive problem-solving is what separates a simple manufacturer from a true manufacturing partner. It's the ability to find a way forward when others see a dead end.
Evaluating a Supplier’s Technical Strength
A good supplier is more than just a machine shop. They are an extension of your own team. Here’s what to look for:
- Comprehensive DFM Report: A top-tier supplier won't just give you a price. They will provide a detailed DFM report that analyzes your design. It should point out potential issues like thin walls, lack of draft, and areas prone to warping. It should also propose clear solutions.
- Problem-Solving Experience: Ask potential suppliers about a difficult project they handled. How did they identify the problem? What steps did they take to fix it? Their answer will reveal their experience and their approach to challenges. A good partner talks about solutions, not just capabilities.
- In-House Expertise: Do they have experienced engineers and toolmakers on site? A supplier that outsources its core engineering or toolmaking has less control over quality and timelines. Our factory in Dongguan handles everything from design review to mold making and testing in-house, which gives us complete control.
This engineering support is your insurance policy against project failure.
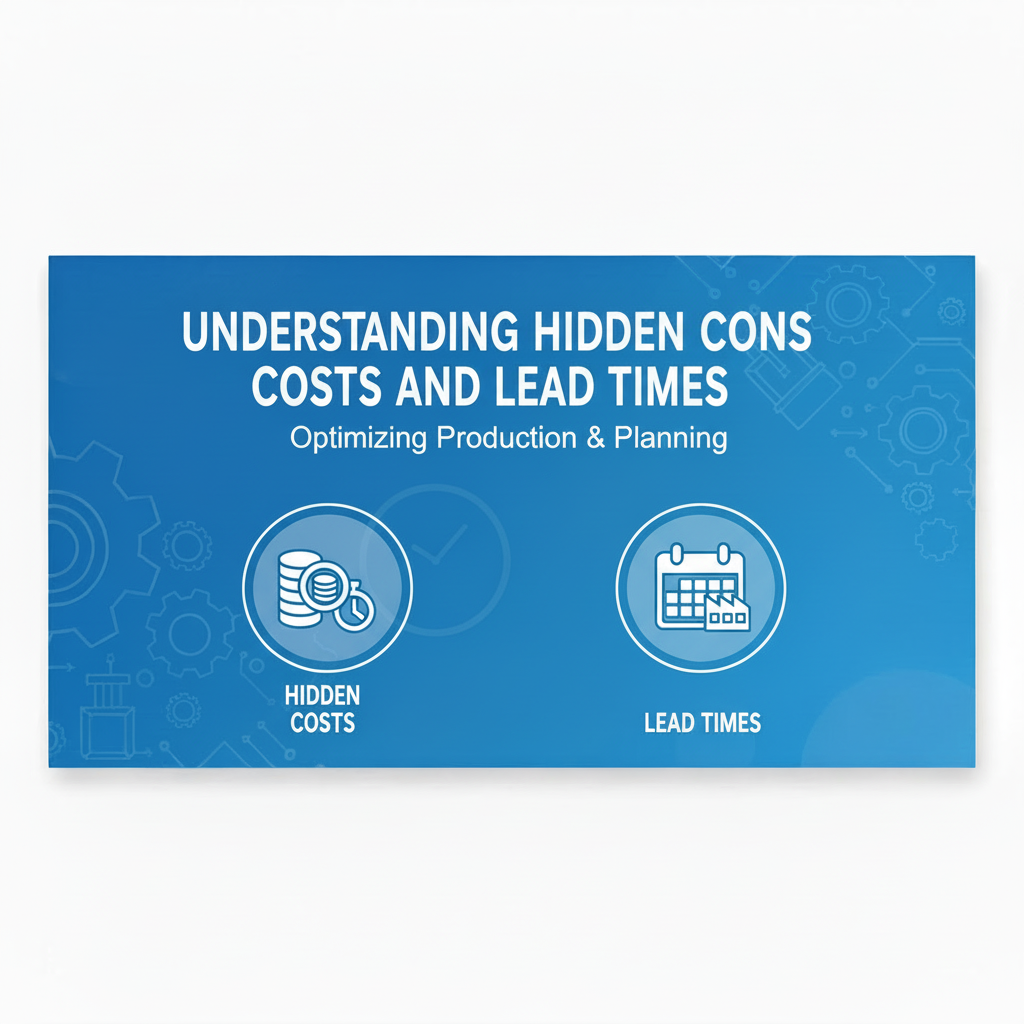
Are You Aware of the Hidden Costs and Lead Times in Injection Molding?
You received a quote and the price looks great. But is that the final price? Many projects get derailed by unexpected costs and delays that weren't mentioned in the initial offer.
Hidden costs often include mold modifications, surface finishing, assembly, and shipping. Lead times can be extended by design changes, material shortages, or slow approvals. A transparent supplier will discuss these possibilities upfront and provide a detailed, all-inclusive timeline and quote.
A new project manager from a large enterprise once showed me a quote from another supplier that seemed too good to be true. It was. I pointed out that the quote only covered the basic mold and raw parts. It didn't include texturing for the surface finish, silk-screen printing of their logo, or the cost of assembling the final product. These "extras" would have added 40% to their total cost. Furthermore, their lead time only covered mold making, not the time for sample testing, approvals, and mass production. By being transparent about the entire process, we helped them build a realistic budget and timeline, avoiding any nasty surprises down the road.
Uncovering the Full Picture
To avoid surprises, you need to ask detailed questions about the entire process, not just the initial steps.
- Potential Hidden Costs: Many things can add to the final bill. Be sure to ask about them directly. A clear quote should itemize all expected expenses.
- Complete Lead Time: The "lead time" can mean different things to different suppliers. Some only quote the time to build the mold (T1 sample). You need to understand the timeline for the entire project, from start to finish.
Here is a checklist to help you clarify costs and timelines with your supplier:
| Item | Questions to Ask Your Supplier | Why It's Important |
|---|---|---|
| Mold Modifications | "Is there a charge for minor adjustments after the first sample (T1)?" | Changes are common. Knowing the cost upfront prevents budget overruns. |
| Surface Finishing | "Does the quote include texturing, polishing, or painting?" | Surface finishes can significantly impact the final look and cost of your part. |
| Assembly & Packing | "Is the cost of assembly, testing, and custom packaging included?" | These post-production steps add time and expense that are often overlooked. |
| Full Project Timeline | "Can you provide a timeline including T1, sample approval, and mass production?" | This gives you a realistic delivery date for your final product, not just a sample. |
Conclusion
By thoroughly checking your design, materials, mold strategy, supplier skills, and all costs, you can turn a complex manufacturing process into a predictable and successful venture for your business.