
Struggling with a product that seems impossible to replicate? Simple copying often fails, leading to wasted time and money on molds that just don't work as expected.
Reverse engineering for injection molding1 is the process of deconstructing a finished product to understand its material, structural design, and original manufacturing process. The goal is to accurately replicate and then innovate upon the original design, not just to make a simple copy.


This process is a core path to technical innovation. It’s not about stealing ideas. Instead, it’s a disciplined way to learn from what works. We take a successful product and break it down to its fundamental elements. This lets us understand the "why" behind its design. By doing this, we can quickly overcome technical barriers2 and create something even better. It is a smart way to build on existing success. Let's explore how we make this happen step-by-step.
How do you uncover a product’s exact material formula?
Choosing the wrong plastic can lead to total failure. A part might look like standard ABS, but if it's a custom blend, your new version could crack or warp.
We use material reverse analysis3 to avoid this. This involves advanced lab tests like spectroscopy and thermal analysis (DSC/TGA) to identify the base polymer, additives, and their precise ratio. This ensures the new product performs exactly as intended.

When a client brings us a product to analyze, the very first step is understanding what it's made of. This is the foundation for everything else. Simply guessing the material is a recipe for failure. Instead, we treat it like a forensic investigation. We need precise data to move forward.
Deep Dive into Material Identification
Our process involves a few key techniques to get a complete picture of the material.
- Spectroscopy Analysis: We use tools like Fourier Transform Infrared (FTIR) spectroscopy. This test shines infrared light on a small sample of the material. Different chemical bonds absorb light at different frequencies, creating a unique "fingerprint." We compare this fingerprint against a huge database to identify the base polymer, like Polypropylene (PP), Acrylonitrile Butadiene Styrene (ABS), or Polycarbonate (PC).
- Thermal Analysis: We also use Differential Scanning Calorimetry (DSC) and Thermogravimetric Analysis (TGA). These tests tell us how the material behaves at different temperatures. DSC can reveal the melting point and glass transition temperature, which helps confirm the plastic type. TGA measures weight loss as the material is heated, which is great for identifying fillers or flame retardants and their percentages.
| Test Method | What It Tells Us | Why It's Important |
|---|---|---|
| FTIR | Identifies the base polymer (e.g., PP, ABS, PC) | Ensures the core properties match the original. |
| DSC/TGA | Finds melting points, additives, filler content | Confirms heat resistance and presence of modifications. |
| Mechanical Test | Measures strength, flexibility, impact resistance | Guarantees the final product meets performance needs. |
By combining these methods, we don't just know the material. We know the specific grade and blend. This is critical because it tells us how the material will behave during injection molding and how the final part will perform in the real world.
How do you analyze a product's structural design secrets?
You can 3D scan a part perfectly, but your replica still has sink marks and doesn't fit right. The original design had hidden tricks that a simple copy missed.
True structural reverse engineering4 focuses on function. After 3D scanning5, we analyze why features like ribs, snaps, and wall thicknesses exist. We then use simulation software like Moldflow to confirm that our new design will fill correctly and avoid defects.

Once we know the material, we move on to the product's physical structure. A high-resolution 3D scanner gives us a perfect digital copy of the part's shape and dimensions. But this is just the starting point. I remember a project for a client making educational toys. They brought us a competitor's building block that was incredibly strong. Our initial scan showed us the dimensions, but it didn't tell us why it was so strong. The real work began when we started analyzing the design intent behind every single feature.
From Shape to Function
The goal here is to understand the synergy between the product’s function and the manufacturing process. A simple surface scan doesn't capture this. We need to think like the original designer.
- Deconstructing Features: We digitally dissect the 3D model. We look at the ribs not just as shapes, but as solutions to prevent warping and add strength without adding a lot of material. We study the snap-fits to understand the balance between holding force and ease of assembly. We pay close attention to how the wall thickness changes, as these transitions are often designed to control resin flow and prevent cosmetic defects like sink marks.
- Understanding Design Intent: Every curve and every feature has a purpose. Was a specific fillet added to reduce stress concentration, or was it purely for aesthetics? Was a certain texture applied to hide potential molding imperfections? By asking these questions, we move from just copying a shape to understanding a complete design philosophy.
- Validating with Simulation: This is where Moldflow analysis becomes essential. Before we even think about cutting steel for a mold, we run simulations using our 3D model and the material data we gathered. This software simulates how the melted plastic will flow into the mold cavity. It predicts potential problems like air traps, weld lines, and incomplete filling. This allows us to verify that the original design choices were sound and to make adjustments to our new design to improve manufacturability. This predictive step saves an enormous amount of time and money by avoiding trial-and-error with a physical mold.
How do you read clues left by the original mold?
Your product is structurally sound, but the surface looks messy. You can't figure out why the original looks so clean, but yours has visible lines and marks.
We find the answers on the product itself. The tiny marks from gates, ejector pins, and weld lines are clues. Analyzing these "mold traces" allows us to reverse-engineer the original mold's layout, including its parting line, runner system, and cooling design.
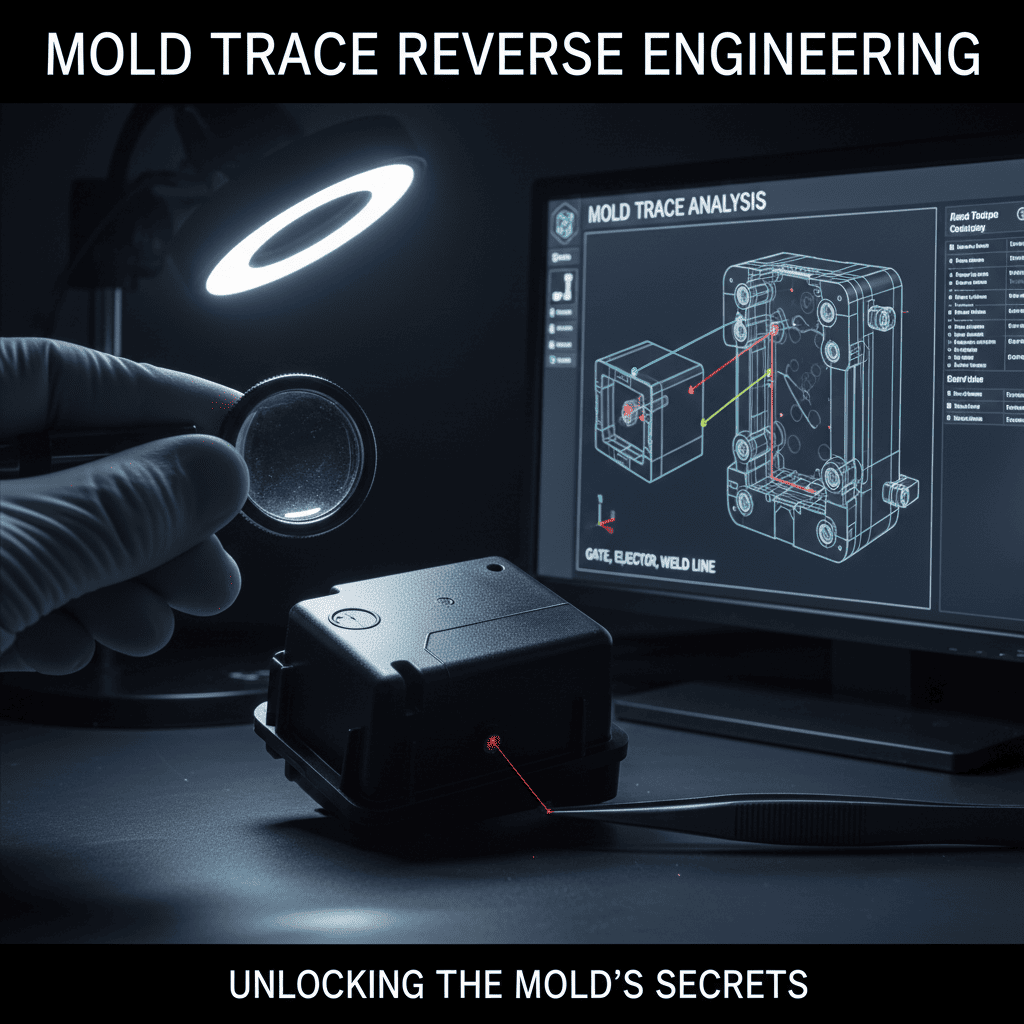
This is one of my favorite parts of the process because it feels like detective work. The finished plastic part holds a perfect memory of the mold it came from. Every tiny imperfection or subtle mark tells a story about how it was made. These traces are not defects; they are a blueprint in reverse. By carefully examining the surface of the original product, we can deduce critical information about the mold that created it, which is a huge advantage when designing our new, optimized mold.
Unlocking the Mold's Blueprint
Reading these traces correctly is key to creating a high-quality mold quickly. It allows us to learn from the successes and failures of the original tooling.
- Parting Line Analysis: The parting line is where the two halves of the mold meet. It often leaves a very faint line on the product. Finding this line tells us how the part was oriented in the mold. This decision impacts everything from where the gate can be placed to how the part is ejected. An intelligent parting line strategy is crucial for a clean, functional part.
- Gate and Runner Marks: The gate is the small opening where plastic enters the part cavity. The mark it leaves tells us the gate type and location. A large gate mark might suggest a high-volume flow was needed, while a tiny pin-point gate mark in a hidden area points to a focus on aesthetics. These clues help us design an efficient runner system that fills the part evenly.
- Ejector Pin and Weld Line Clues: Ejector pins push the finished part out of the mold, leaving small circular marks. Their size and location tell us how the part was ejected and where force was applied. Weld lines form where two plastic flows meet. Their location tells us how the cavity filled and can indicate potential weak points in the original design that we can now fix in our new mold design.
By piecing together these clues, we can create a very accurate picture of the original mold's design and logic.
| Mold Trace | What It Reveals | How It Helps Us |
|---|---|---|
| Parting Line | How the mold opened; part orientation | We can replicate a good strategy or improve a poor one. |
| Gate Mark | Entry point of plastic; gate type and size | Helps us design an efficient filling system and hide marks. |
| Weld Line | Where plastic flows met inside the mold | Shows potential weak spots we can eliminate in the new design. |
| Ejector Pin Mark | How the part was pushed out; number and location of pins | Informs our ejection strategy to avoid part damage or warping. |
Why is the final goal to innovate, not just imitate?
You have successfully copied a product. But the market has moved on, and your competitor has already released a better, cheaper version, leaving you behind once again.
The true goal of reverse engineering is to "exceed the prototype." After we understand the original, we use our expertise to innovate. This means improving the design for lower cost, higher strength, or designing around patents to create a superior product.
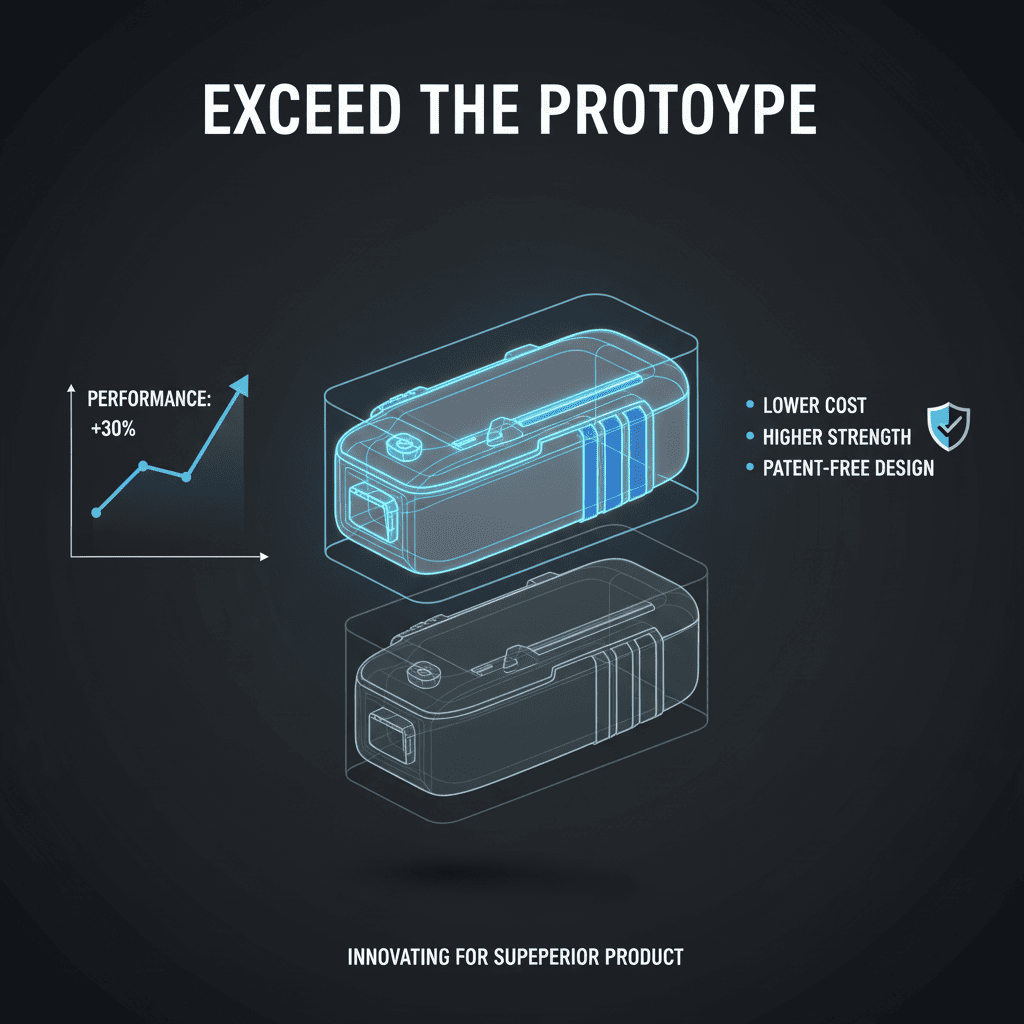
The entire process of deconstruction and analysis is not just an academic exercise. It has a clear business objective: to create a better product. Simply making a 1:1 copy is a losing strategy. The market leader has already moved on to their next version. Our mission at Ambition Industrial is to use the knowledge gained from reverse engineering as a springboard for innovation. We help our clients leapfrog their competition, not just catch up to them. This is where we add the most value.
The Leap from Replication to Innovation
After we have a complete blueprint of the original product—its material, structure, and molding process—the creative work begins. We sit down with our clients and ask, "How can we make this better?"
- Structural Optimization: Can we make the product lighter without losing strength? We can use techniques like topology optimization or redesigning the rib structure. A lighter part often means less material and a faster cycle time, which directly translates to lower production costs. For an automotive client, we were able to reduce the weight of an interior trim part by 15% this way, resulting in significant savings.
- Process Improvement: Can we shorten the molding cycle time? Maybe the original design had a cooling system that wasn't very efficient. By redesigning the mold's cooling channels based on our Moldflow analysis, we can often shave precious seconds off the cycle time. Over a production run of millions of parts, this adds up to a huge competitive advantage.
- Avoiding Patent Issues: Often, a product has design features that are protected by patents. A direct copy would lead to legal trouble. Our deep understanding of the product's function allows us to design an alternative solution that achieves the same result without infringing on the original patent. This is a critical part of turning reverse engineering into a safe and effective business strategy.
Ultimately, reverse engineering provides the baseline. Our engineering expertise provides the innovation on top of it.
Conclusion
Reverse engineering is a powerful tool. It allows us to deconstruct, understand, and then innovate beyond the original product, turning imitation into a launchpad for creating superior, market-leading solutions.
Explore this resource to understand how reverse engineering can enhance product design and innovation. ↩
Learn how reverse engineering can help overcome technical barriers in product development. ↩
Learn about material reverse analysis to ensure your product performs as intended by identifying the right materials. ↩
Explore the concept of structural reverse engineering to enhance product functionality. ↩
Find out how 3D scanning captures precise dimensions for accurate product replication. ↩