
You're waiting on a new batch of plastic parts, but they arrive full of flaws. This is incredibly frustrating. These defects can delay your entire project and drive up costs unexpectedly.
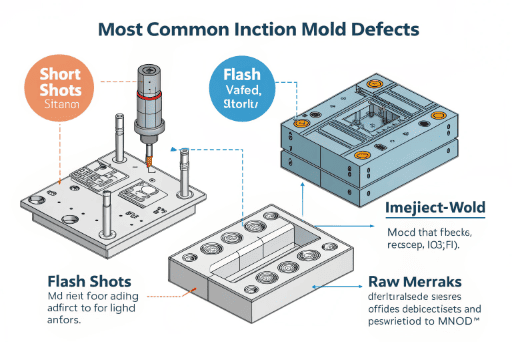
The most common injection mold defects are short shots, flash, voids, sink marks, and dimensional errors. You can usually fix them by adjusting injection parameters like pressure and temperature, modifying the mold itself, or ensuring your raw materials are properly prepared before production.

I've been in this industry for over 15 years, and I've seen every possible defect. The good news is that almost every problem has a clear solution. It's all about knowing what to look for. When you understand the root cause of a defect, you can work with your manufacturer to fix it quickly. Let's walk through the most common issues one by one, so you can feel confident in your next production run.
Why are my plastic parts not filling completely?
You open a box of freshly molded parts, but they look unfinished, with missing sections. This defect, called a "short shot," stops your assembly line and causes major headaches.
A "short shot" means the molten plastic didn't fill the entire mold cavity. The quickest fixes are to increase the injection pressure or speed, raise the mold or material temperature, or check if the material is being blocked on its way into the mold.
A short shot is one of the most basic defects, but it can be caused by a few different things. Think of it like pouring pancake batter onto a cold pan. If the batter is too thick or the pan isn't hot enough, it won't spread out to the edges. The same principle applies here. The plastic material needs to flow freely and quickly into every corner of the mold before it starts to cool and harden. I remember working with a toy developer on a complex set of building blocks. The corners were coming out rounded instead of sharp. We found the mold temperature was just a little too low. A small adjustment was all it took to get perfect, crisp edges.
Deeper Causes and Fixes
To really solve the problem, you need to know where to look. It could be an issue with the machine, the mold, or the material itself.
| Potential Cause | What's Happening | How to Fix It |
|---|---|---|
| Low Injection Pressure/Speed | The plastic isn't pushed into the mold with enough force or speed to fill it before it cools. | Increase injection pressure or speed settings on the machine. |
| Low Mold/Melt Temperature | The plastic cools and solidifies too quickly, stopping its flow. | Raise the temperature of the mold heaters or the barrel heating the plastic. |
| Small Gate or Runner | The pathway for the plastic into the mold cavity is too narrow, restricting flow. | Ask the mold maker to enlarge the gate size. This is a mold modification. |
| Insufficient Material | The machine isn't programmed to inject enough plastic for a full part. | Increase the "shot size" in the machine's settings to feed more material. |
How do I get rid of the thin, extra plastic on my parts?
You see a thin web of extra plastic leaking out from the edges of your parts. This "flash" or "burr" looks unprofessional and often needs to be trimmed by hand, adding labor costs.
Flash is caused by molten plastic escaping the mold cavity, usually at the parting line. To fix this, increase the clamping force of the machine, lower the injection pressure, or check the mold for wear and tear on the parting surfaces.
Flash happens when the two halves of the mold don't seal together perfectly. The immense pressure of injection forces a small amount of plastic into the tiny gap. Think of it like an overfilled sandwich; the filling squeezes out the sides. The first thing we always check is the clamping force. The machine needs to hold the mold shut tight enough to resist the injection pressure. If that's correct, then we look at the mold itself. Over time, the surfaces where the mold halves meet can wear down, creating gaps. I once worked with a client making cosmetic packaging. They saw flash appearing after about 50,000 shots. We took the mold for maintenance, polished the parting line surfaces, and the flash disappeared completely. Regular mold maintenance is key to preventing this.
Deeper Causes and Fixes
Flash is a balance between clamping force and injection pressure. Finding the right combination is key, but sometimes the mold is the real culprit.
| Potential Cause | What's Happening | How to Fix It |
|---|---|---|
| Insufficient Clamping Force | The machine isn't holding the mold halves together tightly enough, allowing them to be pushed apart. | Increase the clamp tonnage on the injection molding machine. |
| Excessive Injection Pressure | The plastic is being pushed into the mold too aggressively, forcing the parting line open. | Lower the injection pressure or speed. |
| Worn or Damaged Mold | The surfaces of the mold that are supposed to create a seal are worn down or damaged. | The mold needs to be repaired. This involves cleaning and potentially re-machining the parting surfaces. |
| High Melt Temperature | The plastic is too fluid (low viscosity), allowing it to sneak into very small gaps. | Lower the material's melt temperature so it's slightly thicker. |
What are these bubbles trapped inside my plastic parts?
You hold a transparent or semi-transparent part up to the light and notice bubbles trapped inside. These voids are not just ugly; they create weak spots that can cause the part to fail.
Bubbles or "voids" are pockets of trapped air or gas inside a finished part. The best way to prevent them is to properly dry the raw plastic material before molding and to use enough holding pressure to pack the part out as it cools.
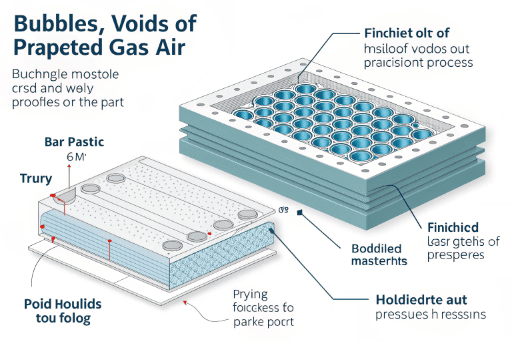
These bubbles can come from two places: air that gets trapped during injection, or gasses that are released from the plastic itself. Many plastics, like ABS, PC, and Nylon, absorb moisture from the air. When you heat this damp plastic, the water turns to steam, creating bubbles. This is why we are so strict about drying all materials in industrial ovens for several hours before use. The other cause is shrinkage. As the plastic cools from the outside-in, a vacuum can form in the center if there isn't enough pressure to keep packing material in. We call this a vacuum void. For a medical device client, part integrity was critical. By increasing the holding pressure and time, we ensured the parts were solid all the way through, with zero voids.
Deeper Causes and Fixes
Getting rid of bubbles requires a two-pronged approach: managing the material and managing the process.
| Potential Cause | What's Happening | How to Fix It |
|---|---|---|
| Wet Raw Material | Moisture in the plastic pellets turns to steam during heating, creating gas bubbles. | Thoroughly dry the plastic granules in a hopper dryer for the recommended time and temperature. |
| Insufficient Holding Pressure | After the initial injection, there isn't enough pressure to pack out the part as it shrinks, creating a vacuum. | Increase the holding pressure and/or the holding time. |
| Poor Mold Venting | Air that is in the empty mold cavity has no way to escape as plastic rushes in, getting trapped. | Add or improve vents in the mold. These are tiny channels that let air out but not plastic. |
| High Melt Temperature | Overheating the plastic can cause it to degrade and release gasses. | Lower the melt temperature to the recommended range for the material. |
Why are there dents and depressions on my parts' surfaces?
You notice sunken areas or depressions, called "sink marks," on the flat surfaces of your parts. They often appear on the opposite side of features like ribs or bosses, ruining the cosmetic appearance.
Sink marks are caused by uneven cooling and shrinkage in thick sections of a part. To fix them, increase the holding pressure or time, reduce the thickness of the thick sections, or lower the mold temperature to set the surface faster.
Sink marks are purely a result of shrinkage. All plastics shrink as they cool. The problem happens when one area is much thicker than the areas around it. The outside surface cools and hardens first, while the inside is still molten. As that thick inner section finally cools and shrinks, it pulls the already-hardened surface inward, creating a sink. I worked on a project for an automotive interior part that had a large, flat, high-gloss surface. Sink marks were a huge problem. The solution was to redesign the part with our client. We cored out the thick sections on the back, making the wall thickness more uniform. This, combined with optimized holding pressure, gave us a perfectly flat, beautiful surface.
Deeper Causes and Fixes
Controlling sink marks is about controlling how the part cools and solidifies. It's often a mix of process adjustments and part design.
| Potential Cause | What's Happening | How to Fix It |
|---|---|---|
| Uneven Wall Thickness | Thick sections cool much slower than thin sections, and the extra shrinkage pulls the surface inward. | Redesign the part to have a more uniform wall thickness. "Core out" thick areas. |
| Insufficient Holding Pressure/Time | Not enough pressure is applied during the cooling phase to pack more material in as the part shrinks. | Increase the holding pressure or extend the holding time. |
| High Mold/Melt Temperature | The part takes too long to cool, allowing more time for the thick inner core to shrink and pull on the surface. | Lower the mold temperature or the material melt temperature. |
| Small Gate Size | The gate freezes off too early, preventing holding pressure from reaching the cavity to pack out the part. | Enlarge the gate to allow it to stay open longer. |
Conclusion
Understanding these common injection molding defects helps you communicate better with your manufacturer and achieve a high-quality final product.